
At some point, we’ve all ended up with a Black & Decker grass trimmer whose line is too short to cut anything. The first instinct is to grab the first spool we see in the garden section.
The problem is that Black & Decker makes several cutting-head systems across its product ranges. A spool bought at random may not clip into place—or could even damage the line-feed mechanism. Before touching anything, turn the trimmer over and check the exact model number.
Black & Decker grass trimmer model number: the first thing to check before buying
The Black & Decker range includes corded, cordless and petrol grass trimmers. The most common models (GL, GLC, STC, BESTA, BESTE and GH series) don’t all use the same line diameter or spool type. For example, a cordless GLC3630L uses a different spool and line from a small corded GL250.
You’ll find the model number on a label attached to the motor housing, often near the handle or underneath the cutting-head cover. It looks like an alphanumeric code followed by a suffix (for example, “Type 1” or “Type 2”). That suffix matters: two trimmers with the same product name but different suffixes may use incompatible spools.
Before buying line or a spool, make a note of the full model number, then look it up in the Black & Decker documentation or with a spare-parts retailer. Trying to figure out how to replace the line on a Black & Decker grass trimmer without checking the model first is guesswork with a consumable that leaves little room for error.
Round, serrated or twisted line: match the line to your model
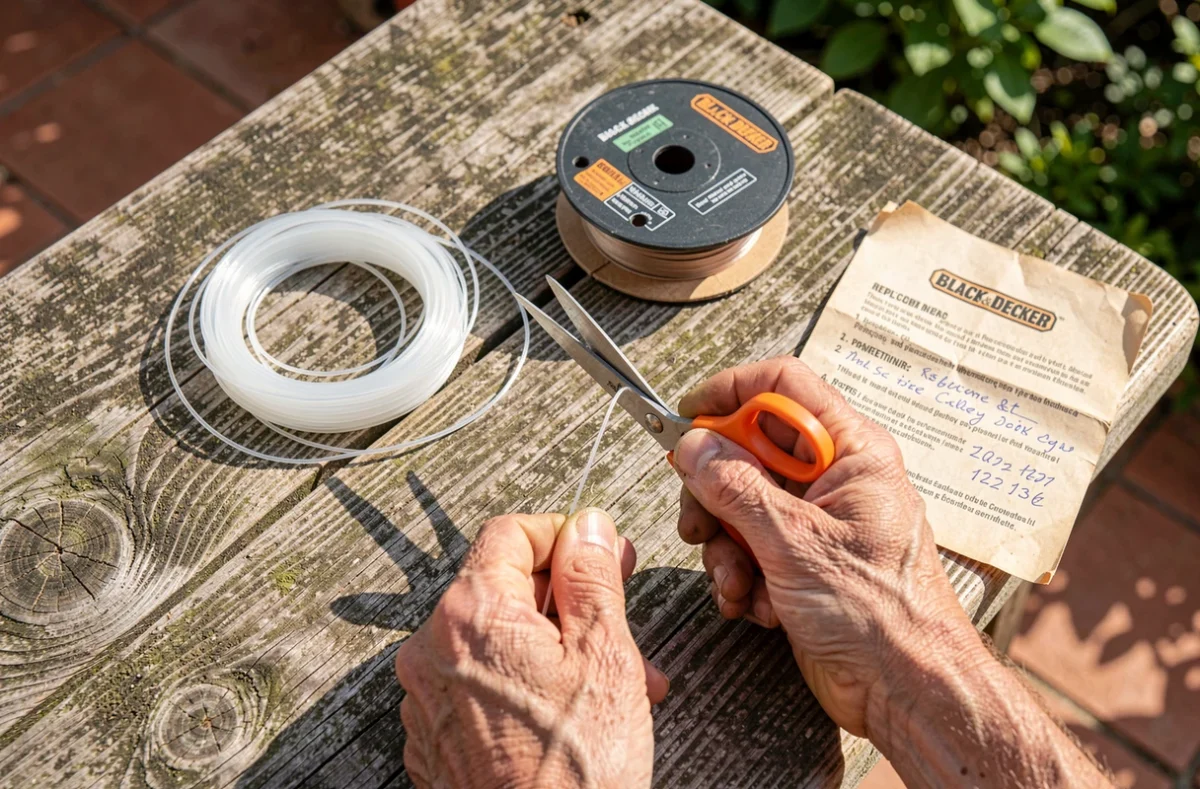
Garden centres sell round, twisted and serrated (star-shaped) nylon line. The choice isn’t just a matter of personal preference: it depends on the motor’s power and the trimmer’s cutting width.
The compatible diameter and line profile (round, twisted or serrated) vary by model. You’ll find this information in the user manual or directly on the old spool still fitted to the trimmer.
Line that’s too thick puts strain on the motor and trips the thermal protection. Line that’s too thin will snap within seconds when cutting slightly tougher grass. The compatible diameter is listed in the user manual or printed on the old line still on the spool.
Pre-loaded spool or loose line
Black & Decker offers pre-loaded spools that are ready to clip into place and are matched to specific grass trimmer models. This is the quickest option: remove the old spool and fit the new one. The cost per metre is higher, but you avoid winding the line incorrectly.
Alternatively, buy loose nylon line in rolls of several dozen metres and refill the existing spool yourself. It’s more economical in the long run, as long as you follow the winding direction and don’t exceed the spool’s capacity.
Remove the cutting head and replace the line without damaging the mechanism
Unplug the trimmer (or remove the battery) before doing any work. This is essential: the motor could start if the trigger is pressed accidentally.
Most recent Black & Decker grass trimmers have a head cover that comes off when you press the side tabs and pull it down. On some older models, the cover unscrews counterclockwise. If it won’t budge, check for a small push button on the side: forcing it without understanding the mechanism could break the retaining clips.
Wind the line onto the spool
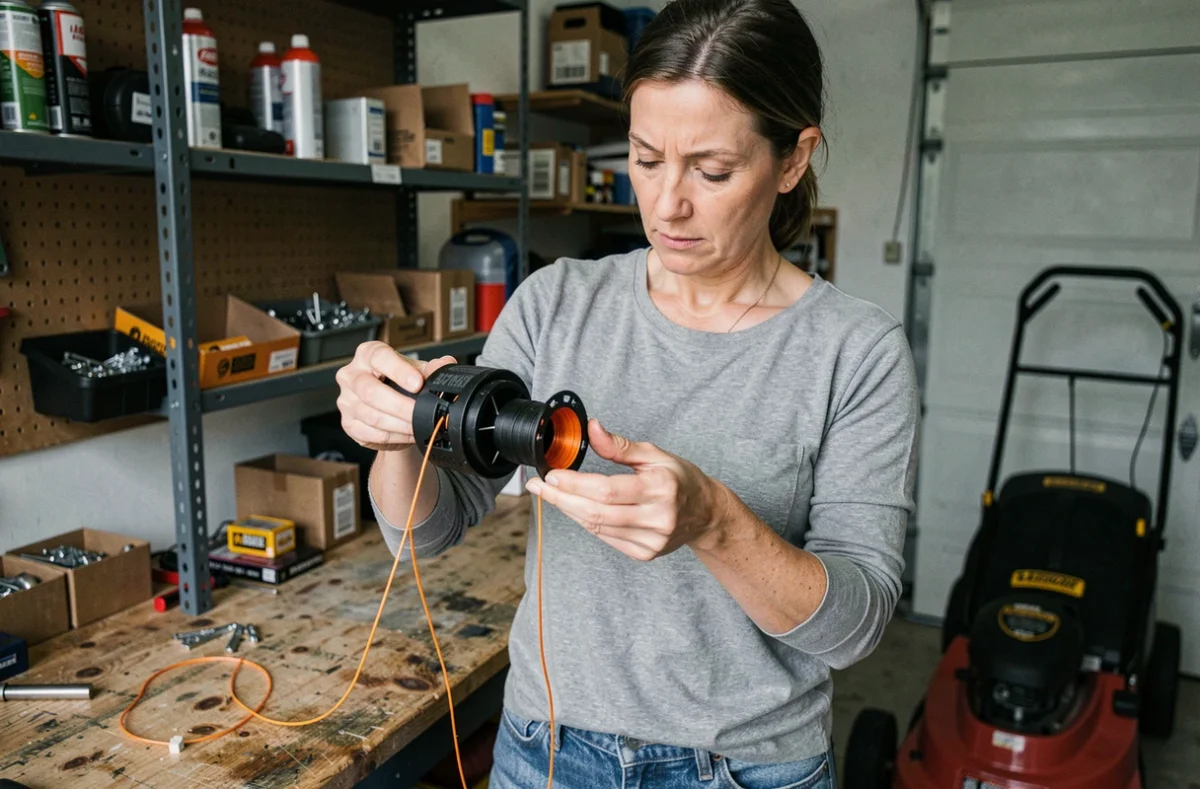
Once you’ve removed the spool, look for the arrows moulded into the spool body. They show the required winding direction. Winding the line the wrong way can stop it feeding properly during use or even jam the automatic feed system.
Cut a length of new line (the model documentation specifies the recommended length, which varies by spool). Insert the end of the line into the small retaining hole in the spool hub, then wind it in tight, even coils, following the arrows. Overlapping or crossed coils can cause jams within the first few minutes of use.
Leave about 10 centimetres of line sticking out and tuck it into the retaining notch on the edge of the spool. Then put the spool back in the housing, feed the line through the outlet hole in the cover and clip the cover back on until it clicks.
Common problems after replacing the line on a Black & Decker
The line snaps after a few seconds: the diameter is probably wrong, or too much line is sticking out of the housing. The line must never extend beyond the cutting area marked by the blade built into the housing. This blade automatically trims any excess when the trimmer starts. If it’s blunt or missing, the line stays too long and snaps under the extra strain.
The line no longer feeds automatically when you tap the head on the ground (Tap and Go system): the coils are probably tangled inside. Remove the cover again, take out the spool, unwind the line and wind it back neatly. On models with automatic feed (Autofeed), a spring under the spool provides tension. If it’s displaced or bent, the system won’t work, even with new line wound correctly.
The cover won’t clip back into place: the spool may be incorrectly positioned, or the line may be trapped between the housing and the cover. Reposition the spool, aligning the notches, and make sure the line passes through the outlet hole without wrapping around the shaft.
Every Black & Decker model has its own quirks, and the differences between series (single-line spools, dual-line spools and varying diameters) make checking the exact grass trimmer model more reliable than any generic tutorial.