
A foam toilet seat riser is distinguished from a classic plastic seat by its open-cell porous structure. This porosity allows it to absorb liquids instead of repelling them, making standard cleaning methods (disinfectant spray, quick sponge wipe) insufficient. Cleaning a foam toilet seat riser requires understanding how the material reacts to water, acidic products, and mechanical friction.
Vinyl coating or bare foam: adapting cleaning to the actual surface
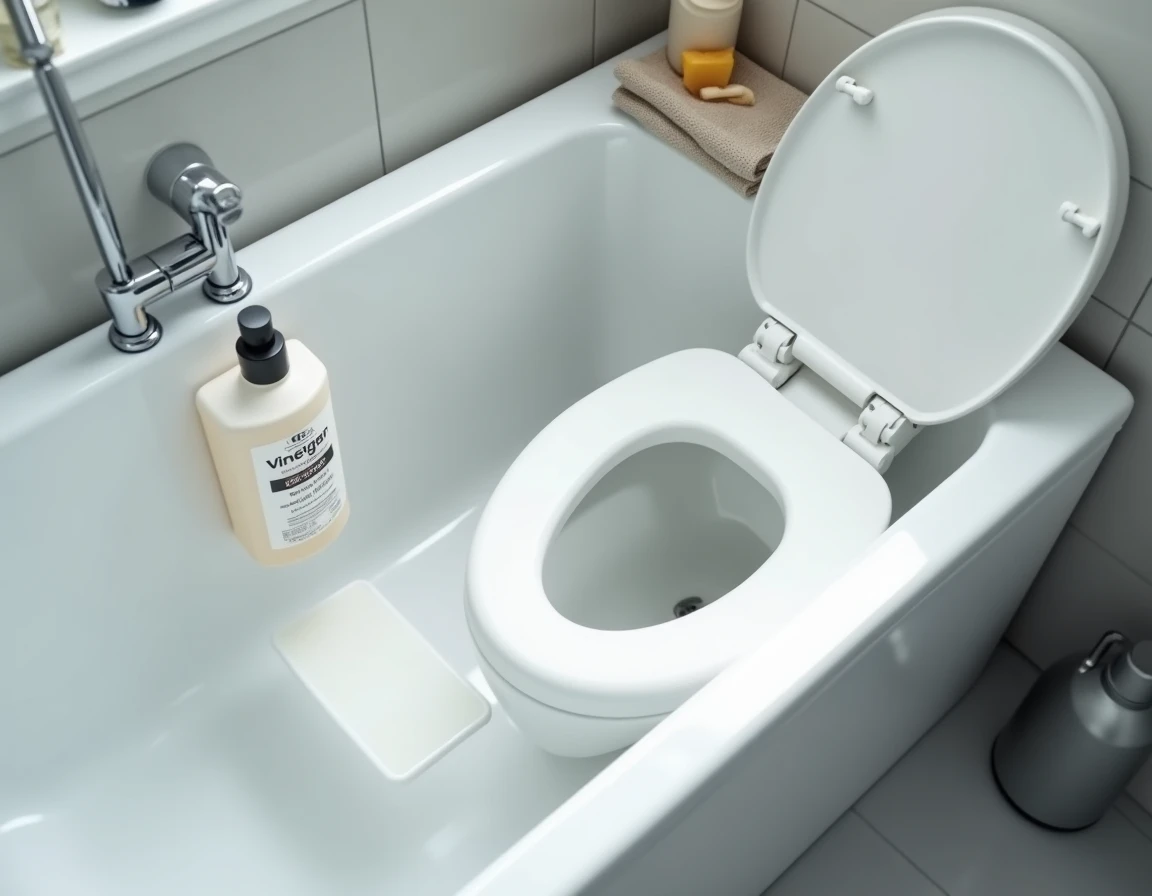
Not all foam risers are equal when it comes to cleaning. The main distinction lies between two configurations: foam covered with a vinyl (or plastic) coating and bare foam, without a protective shell.
You may also like : Essential Tips and Advice for Creating a Productive and Thriving Vegetable Garden
A vinyl coating creates a waterproof barrier. Water and dirt remain on the surface, allowing for easy wiping with a damp cloth. The foam underneath stays dry as long as the coating is intact.
Bare foam, on the other hand, absorbs everything. Urine, splashes of soapy water, ambient humidity: the liquid penetrates deeply and creates a favorable environment for bacteria. This category poses the most maintenance and persistent odor problems.
See also : The Secrets to a Perfect Manicure: Essential Materials and Techniques
Before choosing a product or method, it is essential to identify the surface of the riser. A quick test: drop a few drops of water on the top. If they bead up, the coating is intact. If they are absorbed within a few seconds, the foam is exposed or the coating is worn. To delve deeper into the techniques for cleaning a foam toilet seat riser, this distinction between surfaces remains the starting point.
Products compatible with foam: white vinegar, baking soda, and their limits
White vinegar and baking soda appear in most cleaning recommendations. On a foam riser, their effectiveness depends on how they are used and especially on what is expected of them.
Diluted white vinegar for stains and odors
White vinegar acts as a mild disinfectant and odor neutralizer. On a vinyl-coated foam, a solution of equal parts (warm water and white vinegar) applied with a soft cloth is sufficient for common stains. On bare foam, vinegar should never be poured directly: a cloth or sponge should be dampened and the surface patted without saturating it with liquid.
Baking soda for yellowing
Yellowish stains are the most common aesthetic problem. Baking soda, mixed with a little water to form a paste, can treat these areas without excessive abrasion. The paste is applied to the stain, left to act for about fifteen minutes, and then wiped with a well-wrung damp cloth.
What to avoid
- Concentrated bleach attacks vinyl coatings and degrades the foam deeply, causing accelerated yellowing in the medium term
- Acidic descaling products (like hydrochloric acid) are designed for ceramics and corrode soft materials
- Abrasive sponges (green scrubbing side) scratch the protective coating and expose the foam to infiltration
- Isopropyl alcohol-based cleaners dry out the foam and make it brittle after a few applications
A mild product is sufficient in most cases. Marseille soap diluted in warm water, applied with a soft sponge, remains the safest solution for regular cleaning without risk to the material.
Drying the foam riser: the step most guides overlook
Properly cleaning a foam riser is only half the job. Incomplete drying is the primary cause of persistent odors, even after careful cleaning. Residual moisture trapped in the foam’s cells promotes bacterial growth within hours.
After each cleaning, the riser should be removed from the bowl and placed in a ventilated area. Ideally, it should be positioned upright, leaning against a wall, to allow air to circulate on both sides. A closed bathroom environment, without mechanical ventilation or windows, significantly prolongs drying time.

For bare foams (without coating), drying can take several hours. Speeding up the process with a hairdryer on low heat works, but high heat irreversibly distorts the foam. The temperature should never exceed that of warm air.
In humid environments (bathroom without mechanical ventilation, tropical climate), moisture accumulation in the foam becomes chronic. In this case, alternating two risers allows each to dry completely between uses.
Child foam riser: regulatory constraints and suitable cleaning
Foam toilet risers intended for children are subject to specific requirements. The REACH regulation and standards related to childcare articles limit the plasticizers and biocides allowed in the vinyl or plastic coatings surrounding the foam.
This regulatory constraint has a direct consequence on cleaning: the products used must not alter the certified coating. An overly aggressive cleaner can degrade the protective layer and release substances normally contained by the material.
Recent buying guides for child toilet reducers also indicate a clear trend towards preferring smooth plastic models over bare foam. Soft surfaces are considered more challenging to disinfect daily, especially when shared among multiple children.
For a child foam riser, the most suitable routine remains:
- A daily wipe with a soft cloth soaked in warm soapy water (mild soap, no industrial detergent)
- A thorough weekly cleaning with a diluted white vinegar solution, followed by complete drying outside the bathroom
- A regular inspection of the coating for any cracks or peeling that would expose the foam
As soon as the vinyl coating shows visible cracks or the foam remains damp despite prolonged drying, replacing the riser becomes the only reliable hygienic option. Rigorous maintenance extends the product’s lifespan, but foam remains a material with a limited lifespan by nature, regardless of the care it receives.